
Tired of the same old look of your favorite knife? Wouldn’t it be nice to add some flash to your blade? Sure you could have it engraved but that’s really expensive. You could also try your hand at engraving but one false move will turn your favorite blade into trash. Acid etching gives your favorite blade or multi-tool a custom look without the hefty price tag and the high probability of screwing up.
What you need to Acid Etch
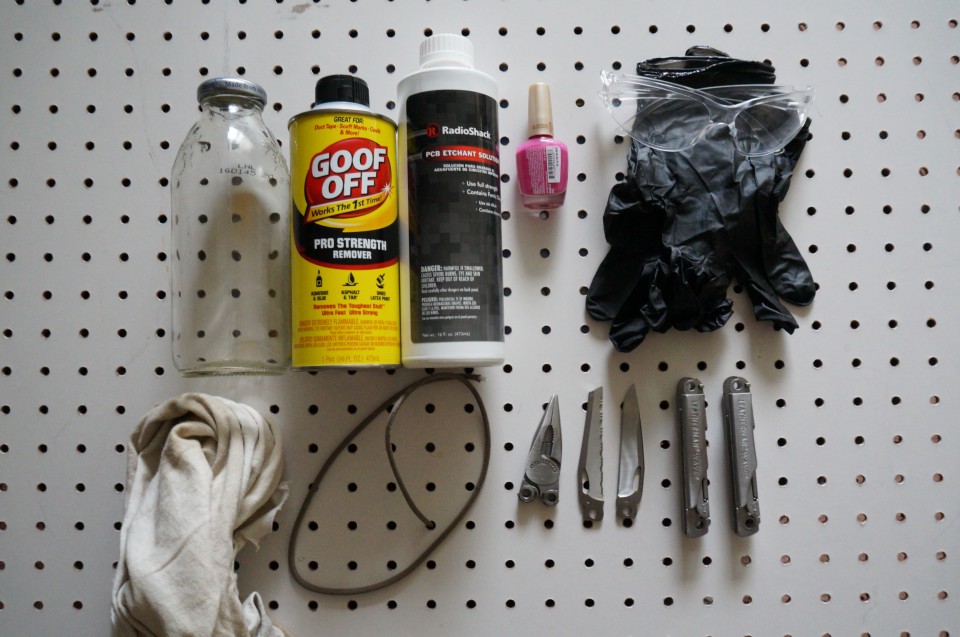
What you need to get started: One of the nicest things about acid etching is you don’t have to search all over the internet for special tools or materials in order to get the job done. The main component for this customization can be found at pretty much any RadioShack location and everything else you’ll probably already have.
List of items you’ll need:
-PCB Etching Solution (Found at RadioShack)
-Glass Jar with lid (I used an empty Snapple bottle)
-Goof Off or Nail Polish Remover
-Nail Polish
-String or Wire (Paracord works well)
-Rags
-Latex Gloves
-Eye protection
-The knife or multi-tool you’re going to be etching
Let the fun begin!
1. Disassembly and Prep.- The first thing you’re going to need to do is take off the handles from the knife or completely dismantle the multi-tool if that’s what you’ll be etching. Why do you need to do this? You’re going to be dunking this knife or multi-tool into a container of acid and acid just so happens to eat away at material, go figure. Unless you want to damage your fancy G-10 scales, take the extra minute or two and remove them. What you’re also going to need to do is take some of the nail polish remover or goof off and wipe down the pieces that you will be etching. Doing this will help the acid etch the metal evenly and ultimately give you the best results.
2. Safety and Let the Acid Flow- I’m a firm believer of protecting your eyes and when you’re dealing with acid, you’d be an idiot to not wear safety glasses. I highly recommend wearing latex gloves as well because the last thing you want after creating a little bit of art, is a nasty rash from getting this stuff on your hands. I also recommend moving to a well ventilated area to avoid the fumes. Next open up the PCB solution and fill up the Snapple container to about three quarters of the way.
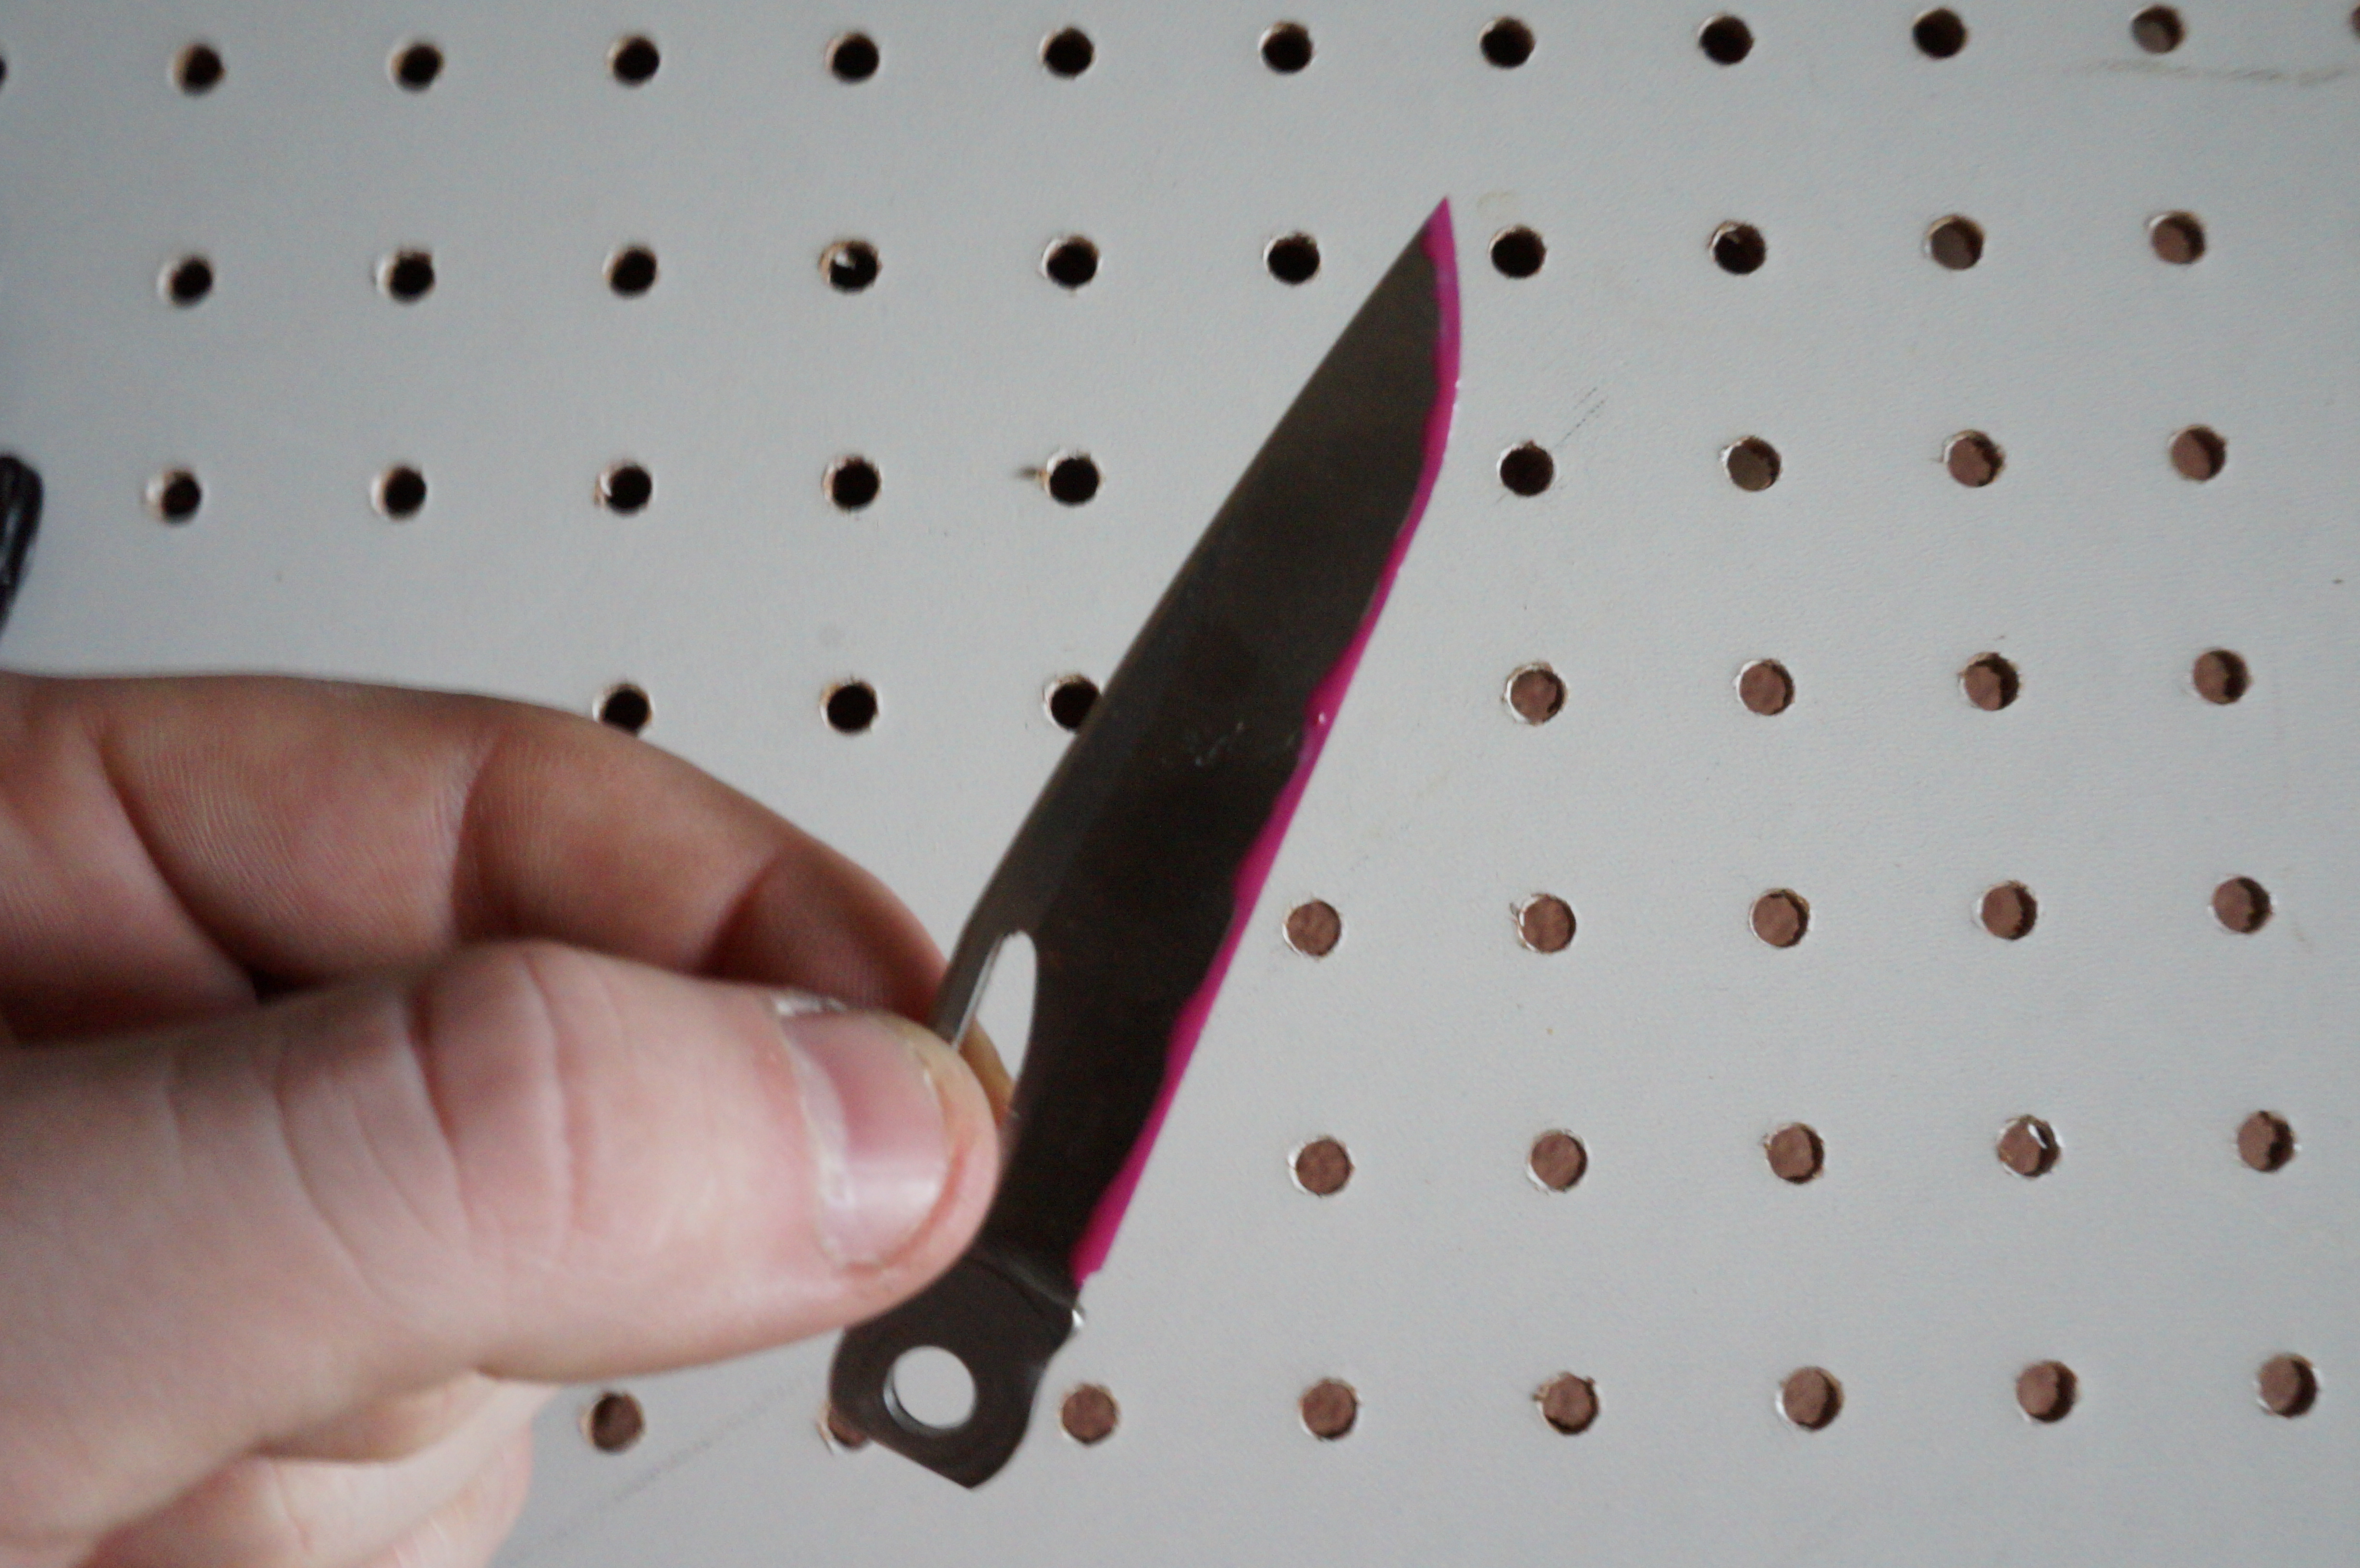
Painting the Edge
3. It’s Time to Paint– Push your manhood to the side for a moment and utilize the protection that nail polish offers. The first step is to make sure you paint the actual edge of the blade. Because of the strength of this PCB solution, it can ruin that edge that takes many of us so long to perfect with sharpening. I advise that you put a generous coating of paint to the edge so you have nothing to worry about when it is all said and done.
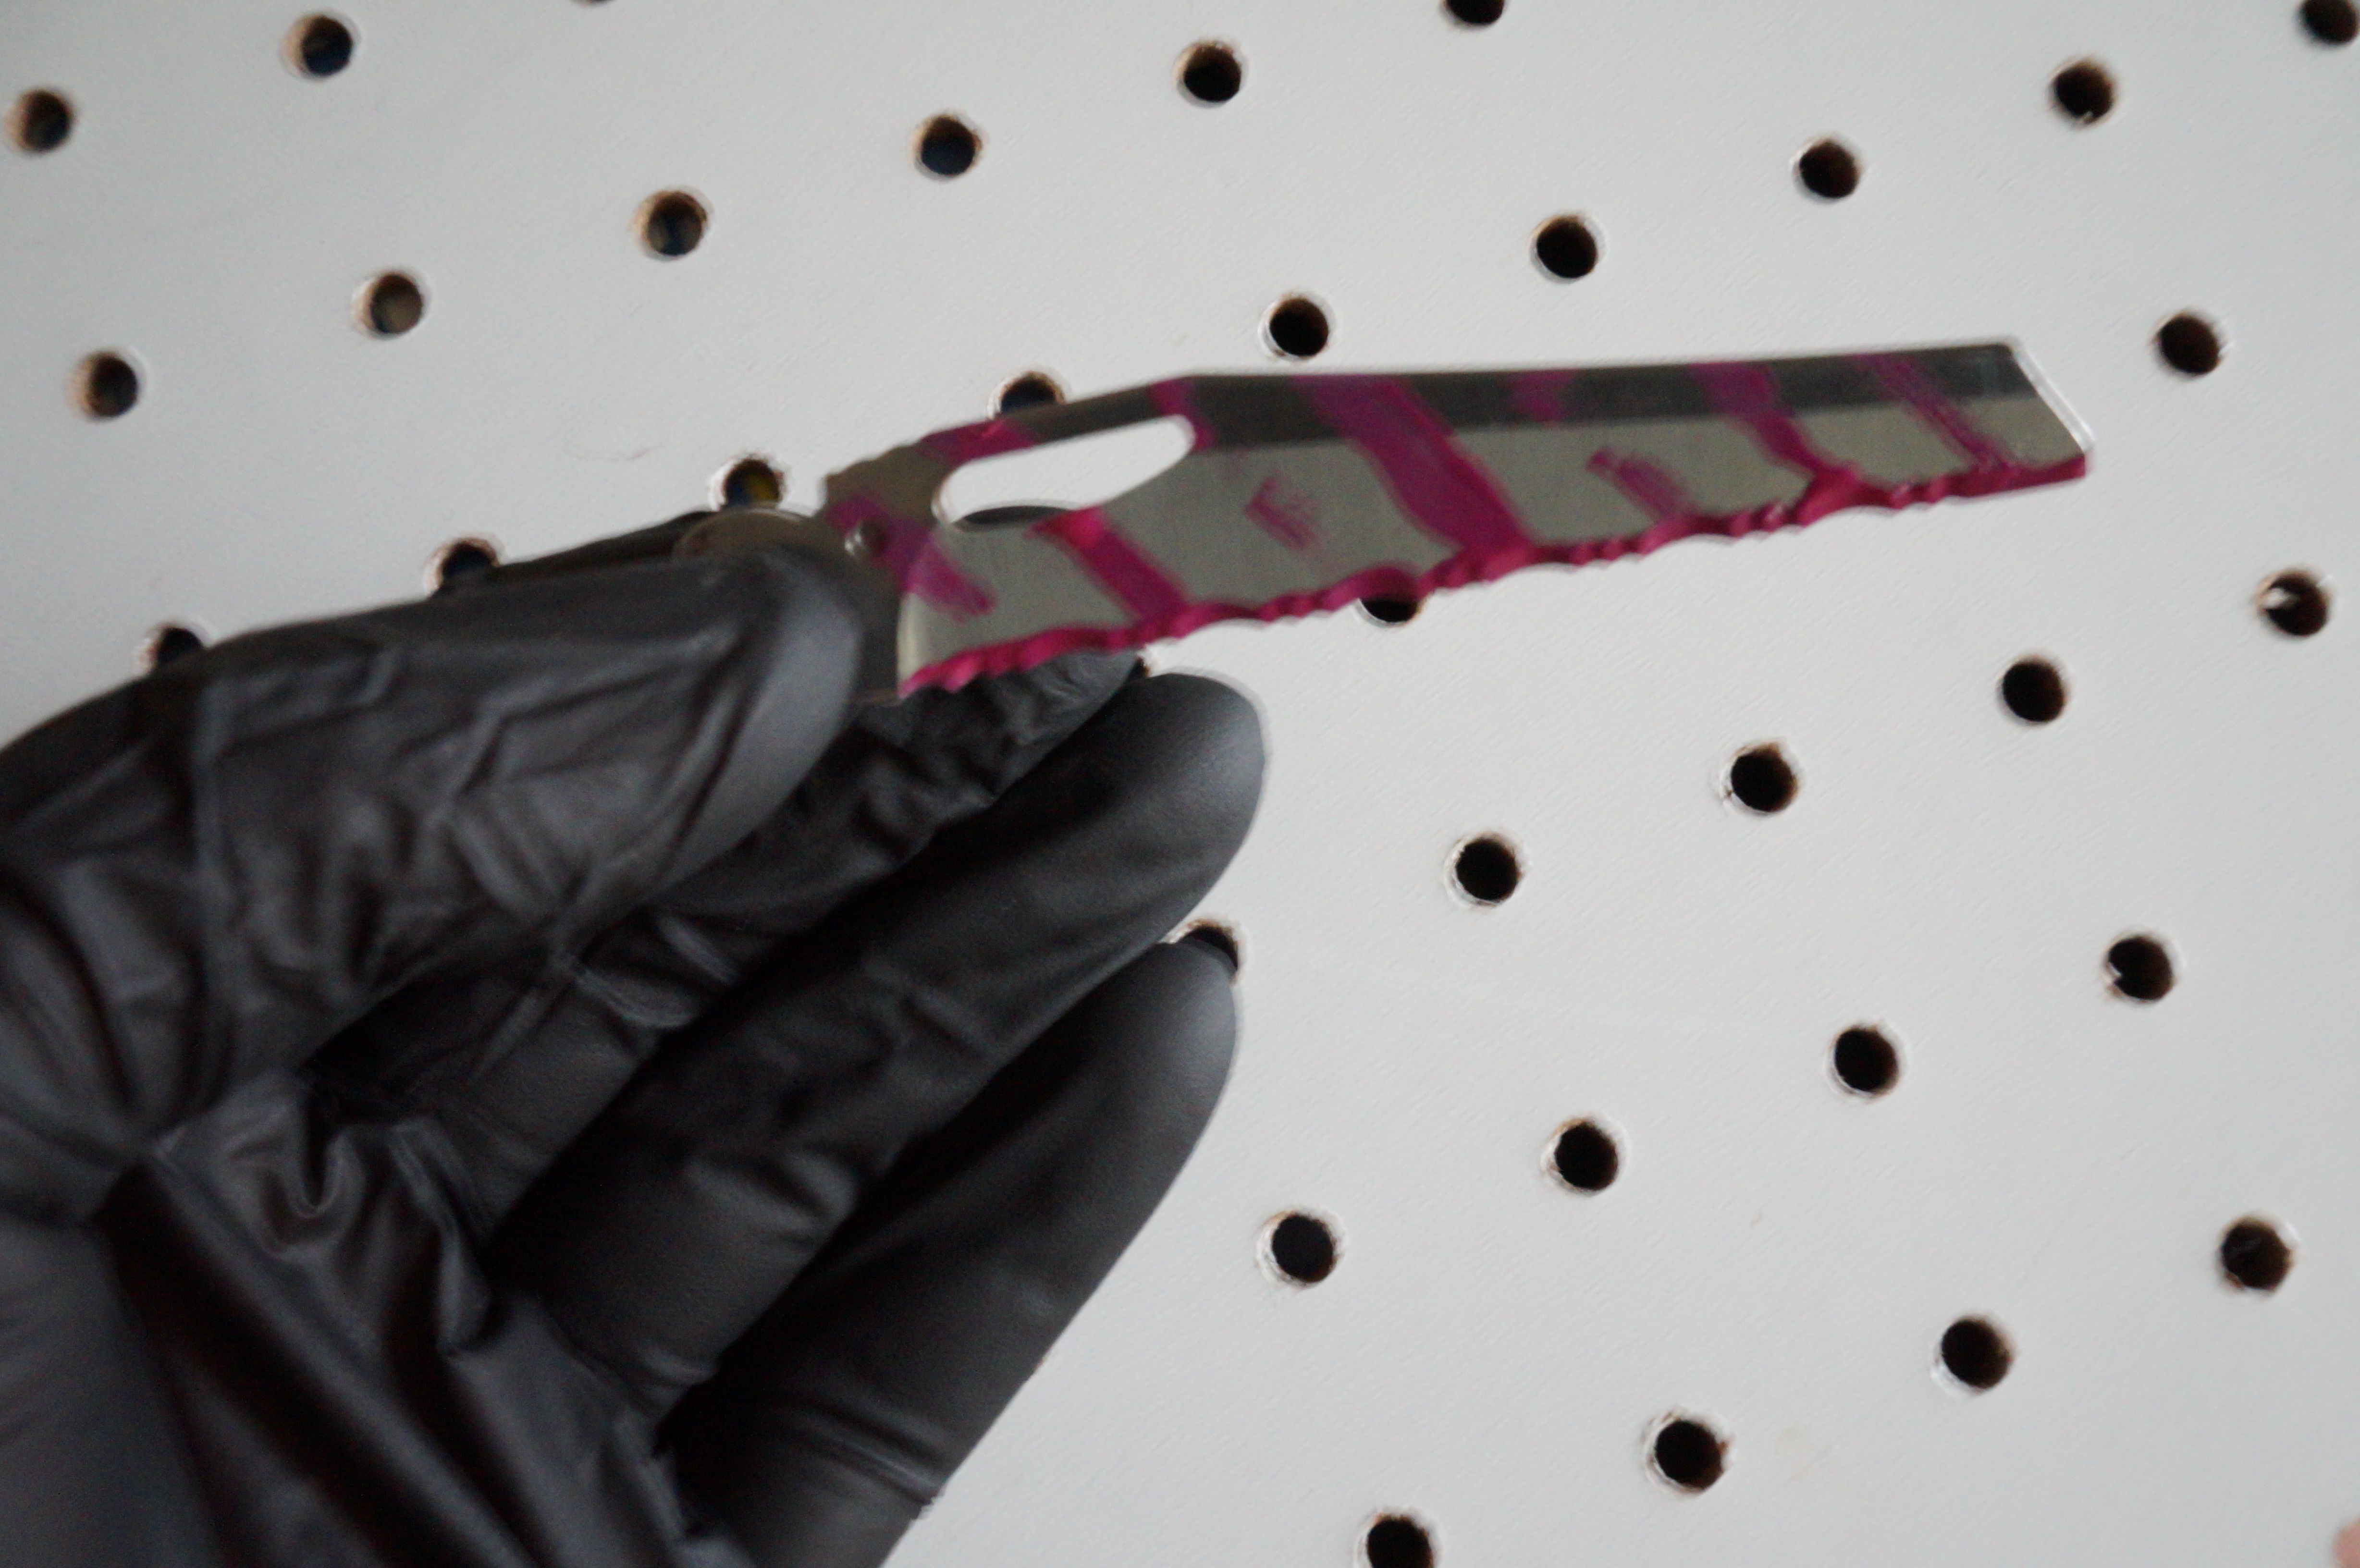
Painting the Blade
Now it’s time for you to dig down deep and release that inner Picasso in you. Keep in mind the acid will change the color of the exposed metal, so wherever you apply paint will remain the original tone of the blade. The sky’s the limit as far as the design that you come up with for your blade or multi-tool. I opted for a tiger stripe look because of the simplicity and ease of demonstration. I found that a toothpick for a brush works extremely well in creating those thin lines that you can’t reproduce with the nail polish brush. Allow at least 25 minutes for the paint to dry before moving on to the next step.
Dipping the Metal in the Acid Solution
4. Take a Dip- Cut roughly six inches of paracord and either loop it through a hole where your grips were attached or tie it around the highest point of the handle. Now depending on how large of a blade you’re etching you may need to pour out some of the etching solution out of the bottle, back into the PCB container. Remember wherever the solution is touching on the metal, it’ll change the color. With that being said, adjust how deep you place the blade in and while holding the other end of the paracord, close the lid. This should secure the blade in the proper position.
5. Tic Toc- This may the most difficult part of the whole process, waiting. Now how long you leave it in there is debated more than what caliber has more knock down power. I’ve done this a handful of times and the golden number for me has been 25 minutes. If you don’t have the same patience as me, you can take it out after 20 minutes. It gets a little tricky if you pull it out before 20 minutes and usually results in inconsistent coloration. You’ve already invested a bit of time and money into this endeavor and rushing will not help the final result, take the full 25 minutes.
6. Remove and Reassemble- Now that you let the acid do its job, its time to take it out. After that you’re going to want to rinse it off with running water. Next comes the goof off or nail polish remover, apply a copious amount to a rag and wipe off the nail polish. Be careful when wiping the paint off the blade edge, I’ll be the first to admit I cut myself doing this. Go ahead and reassemble your knife’s handles or the maze of parts that is your multi-tool.
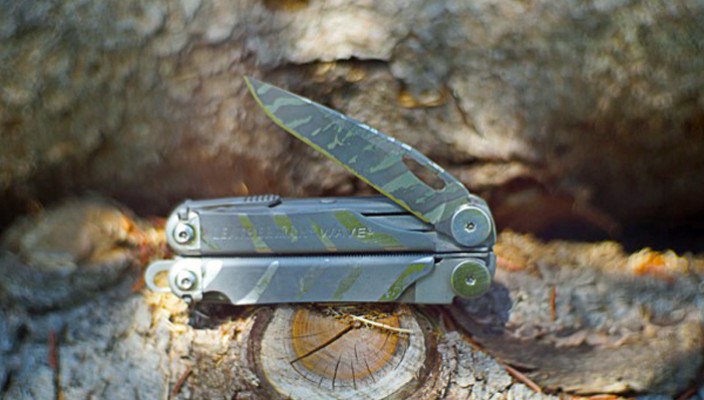
CRKT Okake
Show It Off – Since you’re probably the only guy out of your group of friends with the know-how and sweet new acid etched blade, flaunt it. What’s great about this process is you did it yourself, and it’s one-off. I hope you guys take this information and get to customizing. Let me know what you think about acid etching in the comment box below.
Show of your work by posting your pictures on the OpticsPlanet Facebook page with hash tag #acidetch.
If it goes bang or has to deal with the outdoors then I am most likely passionate about it. If I'm not at the gun range then I'm either hiking, mountain biking or kayaking. Follow along as I dive into outdoor gear related products and topics.
Latest posts by Jeremy L (see all)
- Thermal Imaging for Home Defense? - February 3, 2016
- Top Gear from Vista Outdoors at SHOT Show 2016 - February 1, 2016
- The OTHER Hard Case Company - January 14, 2016
Related Posts
12 Responses to How to Acid Etch your Knife or Multi-Tool
Leave a Reply
You must be logged in to post a comment.
« Steiner M30R LRF Binocular: German Made, Long Range Target Shooter Approved Home Defense Shotgun on A Budget »


Great outline, thanks! FYI, I’ve personally found the straight circuit board etchant to be too strong, so usually cut it 3 or 4:1 on the blades I have etched, However, most of them were etched just to pop the hamon, or temper line on a larger blade, and to give a nice muted satin finish to the steel. You are right to caution folks as the Radio Shack PCB is some strong stuff and can easily damage a knife if you’re not careful.
Another cheaper and less harsh method, which takes longer, etches less and stinks a lot more! is a hot white vinegar etch using a disposable container, gloves, cotton balls and hot vinegar. Rubbing that evenly over a highly polished blade will give a a satin etch that will show the temper line, and not a lot else. I use that regularly on kukris and other large knife blades.
By the way, a good idea when getting the acid residue off the blade (no matter how you etch it) when you’re done is to not just rinse, but to rinse then make a paste of water and baking soda and scrub everything with that, and then rinse again. You’d be surprised at how much acid residue is left on the steel after immersing in acid, and the last thing you want is for any acidity to keep working at the blade steel or your handle scales after you get everything together.
Beautiful job on your knife, and thanks for the great tutorial!
Thanks Norm, Im glad you enjoyed the post. I appreciate the pointers, I’ll have to try baking soda next time I acid etch.
By hot viniger do mean plain ole white viniger? How hot does it need to be?
Thanks,
Jim
Jim, I’ve never tried to etch with vinegar and have only used the mentioned PCB etching solution.
Is it possible to add coloring to the acid to create different patterns? Could this method be used on firearms?
Scott, to the best of my knowledge there’s no way of add coloring. But you could definitely acid etch metal parts of your firearms. I would be really careful on what parts you do though because the etching does alter the finish of the metal and might cause a failure of the weapon system especially if you were to etch to parts that were intended to rub against each other. Hope that helps!
Great idea! I just read this and I’m about to go get the materials I need to try it out. Thanks for sharing this cool project and keep the interesting emails coming.
Hey Michael, glad you enjoyed the article. Id really like to see pictures of your finished work. Do me a favor and post the pictures to the OpticsPlanet Facebook page and I’ll try and send a coupon your way!
If you’re looking to etch names or initials on the metal you might try this technique that got posted to a home-brew site I’m signed into. It uses vinegar and a nine-volt battery to do the etching.
http://byo.com/stories/issue/item/3113-etch-your-kettle-projects
This is really neat! I’m definitely going to try my hand at it soon.
Now that Radio Shack is “Out Of Business”, where do you get the “PCB” materials from ? . . . any suggestions ?
H E L P ! ! !
Doe’s anyone know how to disassembly a Leatherman PST II. Mine has knurled parts that don’t just screw apart that I can tell.